Server Management
Install, configure, and manage MCP servers in McpMux. Supports stdio and HTTP transports with encrypted credential storage, environment variable overrides, and OAuth authentication.
MCP servers provide the tools, resources, and prompts that AI clients use through McpMux. Each server connects to an external service (GitHub, Slack, a database, etc.) or provides local capabilities (filesystem access, browser automation).
Installing Servers
From the Registry
The fastest way to add a server is through the McpMux server registry:
- Browse or search for the server you need
- Click Install — if you have McpMux open, it installs directly via deep link
- If the server requires credentials, the configuration dialog opens automatically
- Fill in the required fields and click Save
You can also browse the registry inside the McpMux desktop app under Discover Servers.
Manual Installation
For servers not in the registry, you can add them manually in McpMux by providing the server definition JSON directly.
Transport Types
MCP servers communicate using one of two transport types:
stdio (Local)
The server runs as a local process on your machine. McpMux launches the command and communicates over stdin/stdout.
Common commands:
npx -y @modelcontextprotocol/server-filesystem— Node.js serversuvx mcp-server-sqlite— Python serversdocker run -i --rm ghcr.io/github/github-mcp-server— Docker containers
Best for: Servers that need local filesystem access, are written in different languages, or require specific runtime environments.
HTTP (Remote)
The server is hosted remotely and accessible via an HTTP endpoint. McpMux connects using the Streamable HTTP MCP transport.
Example endpoints:
https://mcp.atlassian.com/v1/mcp— Atlassian (Jira & Confluence)https://docs.mcp.cloudflare.com/mcp— Cloudflare Docs
Best for: Cloud-hosted servers, SaaS integrations, and servers that require no local installation.
Server Configuration
Each installed server can be configured per-Space with:
Input Values
Credentials and settings required by the server. These are defined by the server definition and include:
- API keys and tokens — stored encrypted, never in plaintext
- URLs — service endpoints
- Feature flags — enable/disable specific behaviors
- Paths — file or directory locations
Environment Variable Overrides
Override or add environment variables passed to stdio servers:
GITHUB_API_URL=https://github.example.com/api/v3
LOG_LEVEL=debug
Additional Arguments (stdio only)
Extra command-line arguments appended to the server's command:
--workspace /path/to/project
--verbose
HTTP Headers (HTTP only)
Custom headers sent with every request to HTTP servers:
Authorization: Bearer sk-xxxx
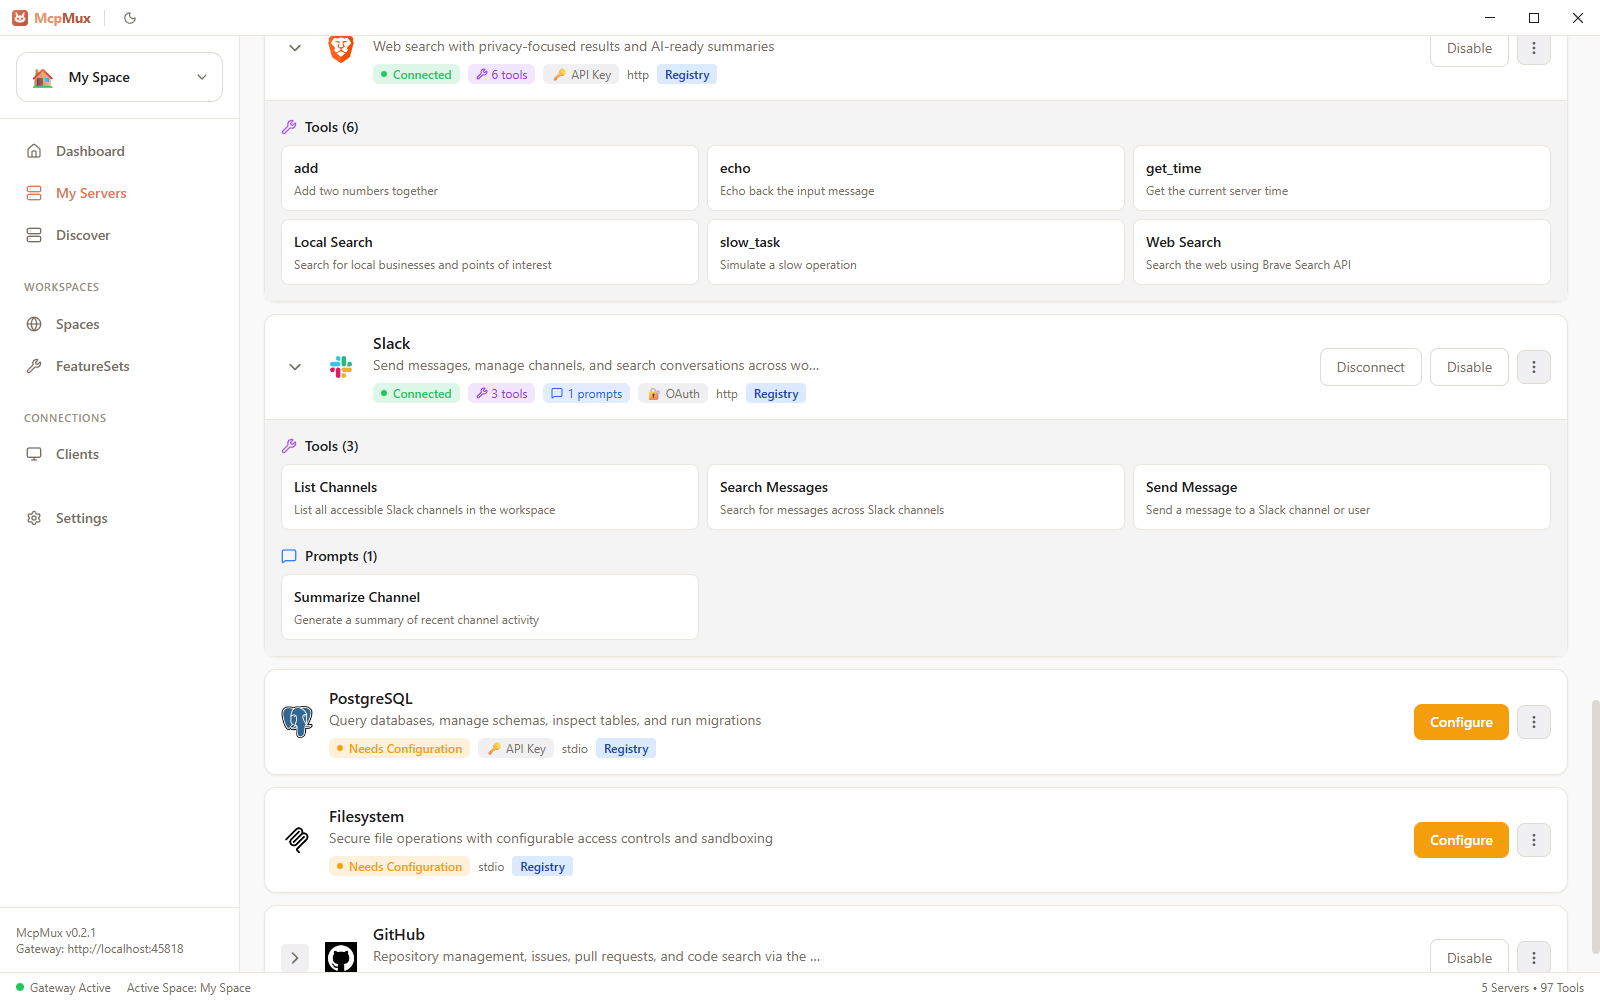
X-Custom-Header: valueEnable and Disable
Each installed server has an enabled/disabled toggle:
- Enabled — the gateway connects to this server and exposes its tools
- Disabled — the server is installed but not running; no connection is maintained
Disabling a server immediately disconnects it and removes its tools from connected clients.
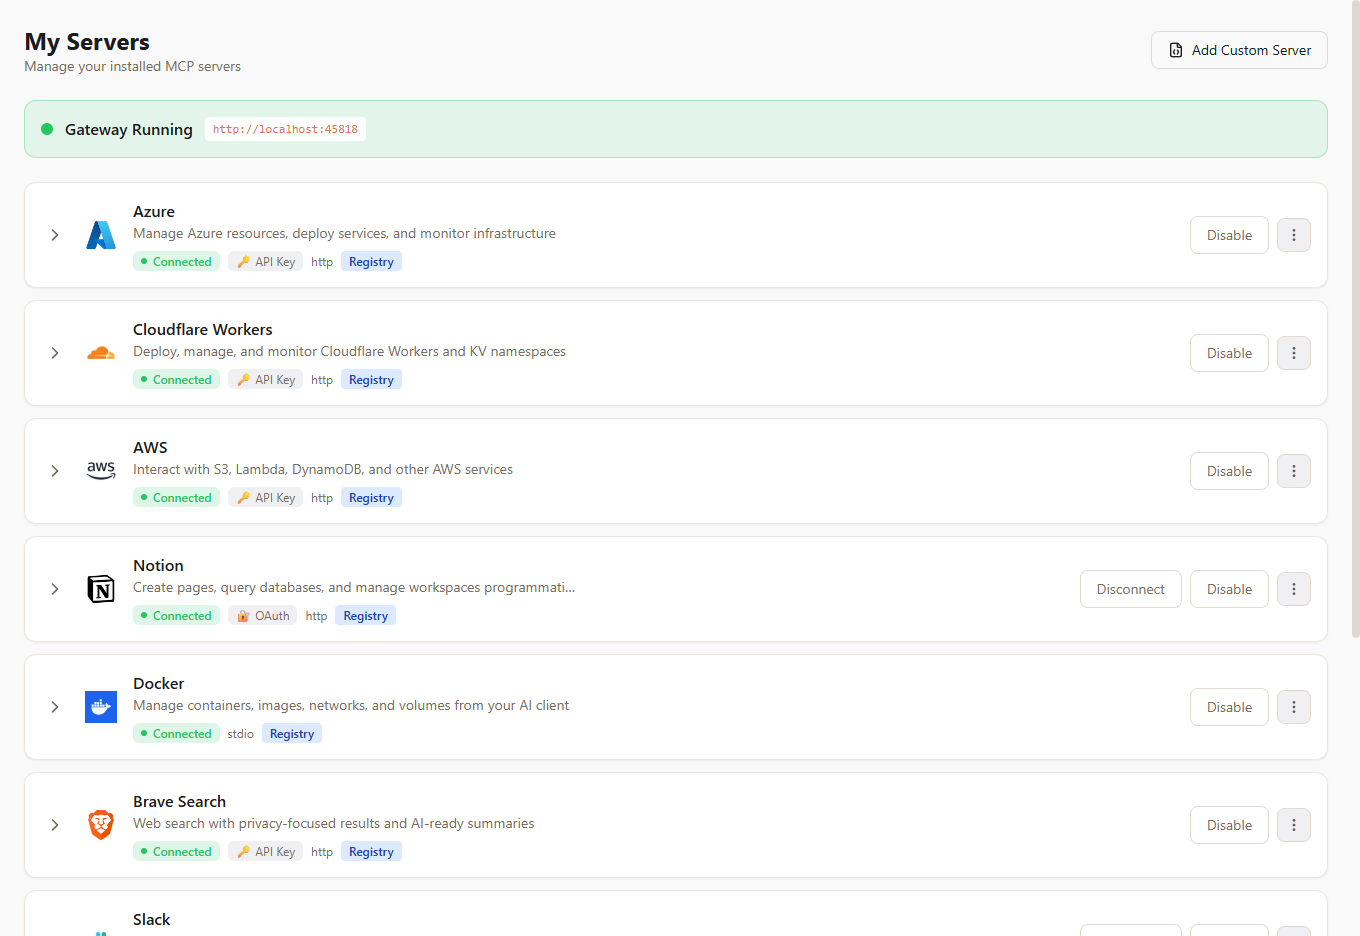
Connection Status
The My Servers page shows real-time connection status for each server:
| Status | Meaning |
|---|---|
| Connecting | MCP handshake in progress |
| Connected | Server is online and serving requests |
| Disconnected | Server is installed but not connected |
| Error | Connection failed — check server logs |
Server Logs
Each server has its own log stream accessible from the My Servers page. Logs show:
- Connection and disconnection events
- MCP protocol messages
- Error details and stack traces
- Tool invocations and responses
Use logs to troubleshoot connection issues or understand what requests are being made.
OAuth-Authenticated Servers
Some HTTP servers use OAuth 2.1 + PKCE for authentication. McpMux handles the entire OAuth flow:
- When you enable an OAuth server, McpMux initiates the authorization flow
- A browser window opens for you to log in and grant permissions
- Tokens are stored encrypted and refreshed automatically
- If a token expires, McpMux refreshes it transparently — no manual intervention
Next Steps
- Browse the server registry to find servers for your tools
- Learn about server definitions to contribute to the registry
- Configure FeatureSets to control which server tools each client can access
- Understand security and how credentials are encrypted
Clients — AI Application Management
Connect Cursor, Claude Desktop, VS Code, Windsurf, and other AI clients to McpMux. Configure connection modes and per-Space permissions for each client.
Gateway — Local MCP Proxy
The McpMux Gateway runs on localhost:45818 and routes MCP requests from AI clients to the correct servers with automatic authentication and permission filtering.