Getting Started with McpMux
Download McpMux, install your first MCP server, and connect Cursor, Claude, or VS Code in under 5 minutes. Step-by-step setup guide.
Get McpMux running and connect your first AI client in just a few steps.
Prerequisites
- Operating System: Windows 10+, macOS 12+, or Linux (Ubuntu 20.04+, Fedora 38+)
- AI Client: At least one MCP-compatible client installed (Cursor, Claude Desktop, VS Code, etc.)
Step 1: Download and Install
Download McpMux for your platform from the download page.
- Windows: Run the
.msiinstaller - macOS: Open the
.dmgand drag McpMux to Applications - Linux: Install via
.deb,.rpm, or.AppImage
McpMux runs in the system tray — look for the McpMux icon after installation.
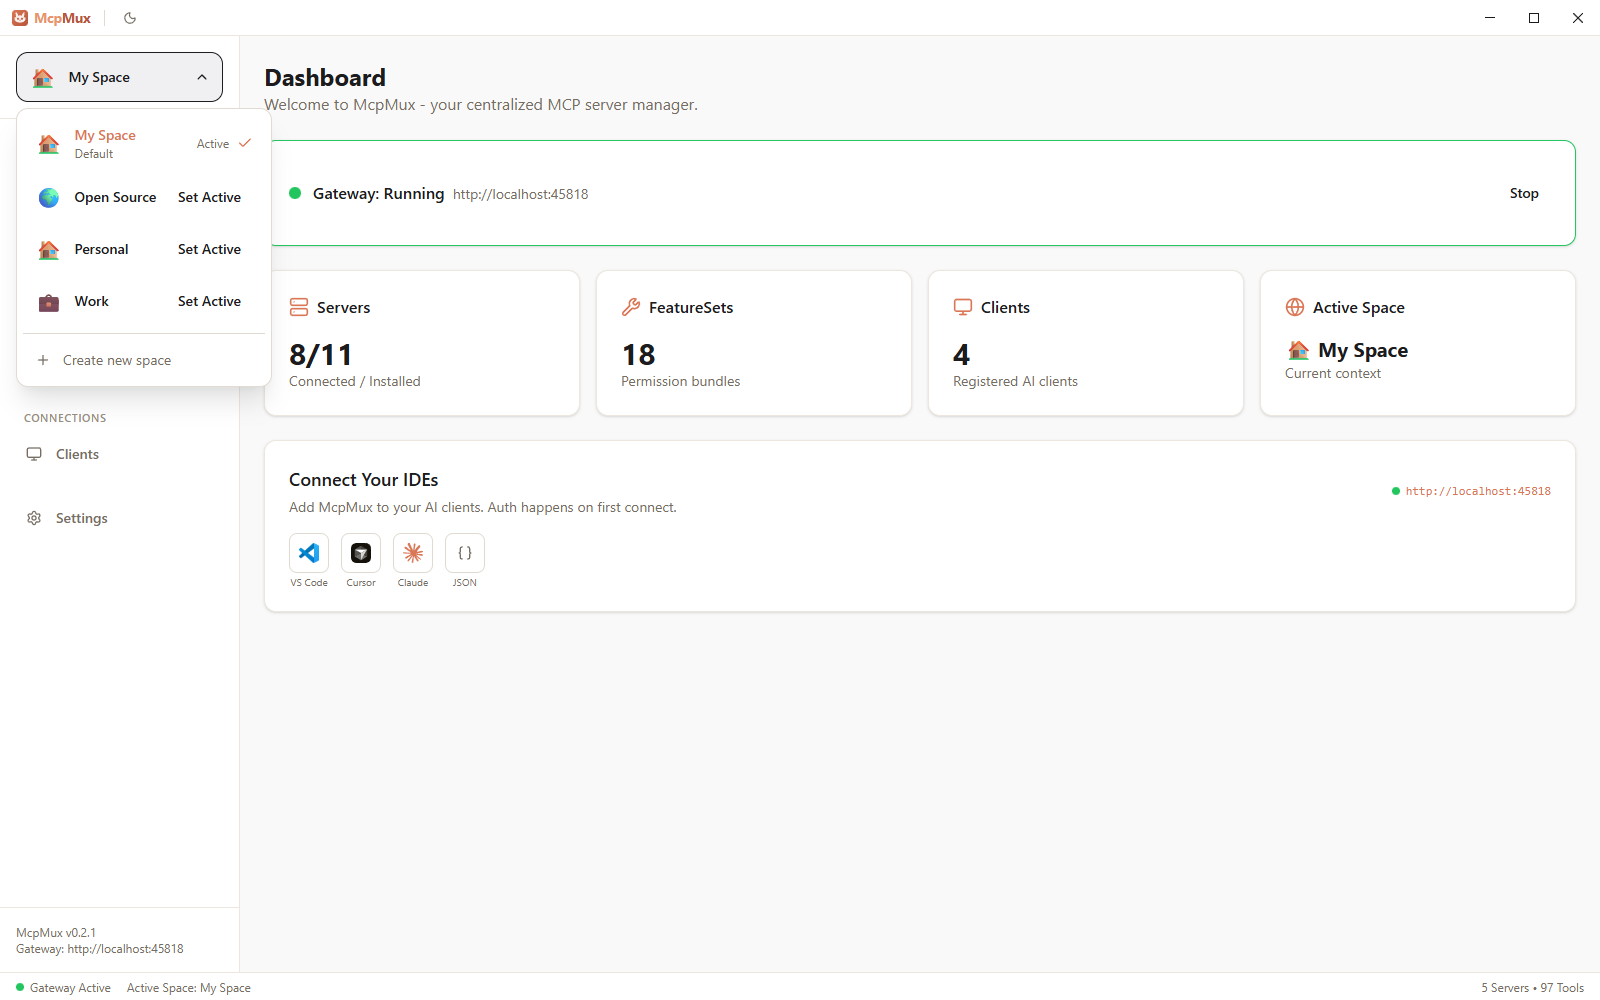
Step 2: Create a Space
When you first open McpMux, a default Space is created for you. Spaces are isolated environments with their own server configurations and credentials.
You can create additional Spaces later for different contexts:
- Work — company tools with work credentials
- Personal — side projects with personal API keys
- Client-A — isolated environment for a specific client
To create a Space, go to the Spaces page and click Create Space.
Step 3: Browse and Install a Server
Navigate to Discover Servers in McpMux or browse the server registry on this website. You'll find 100+ MCP servers for popular tools.
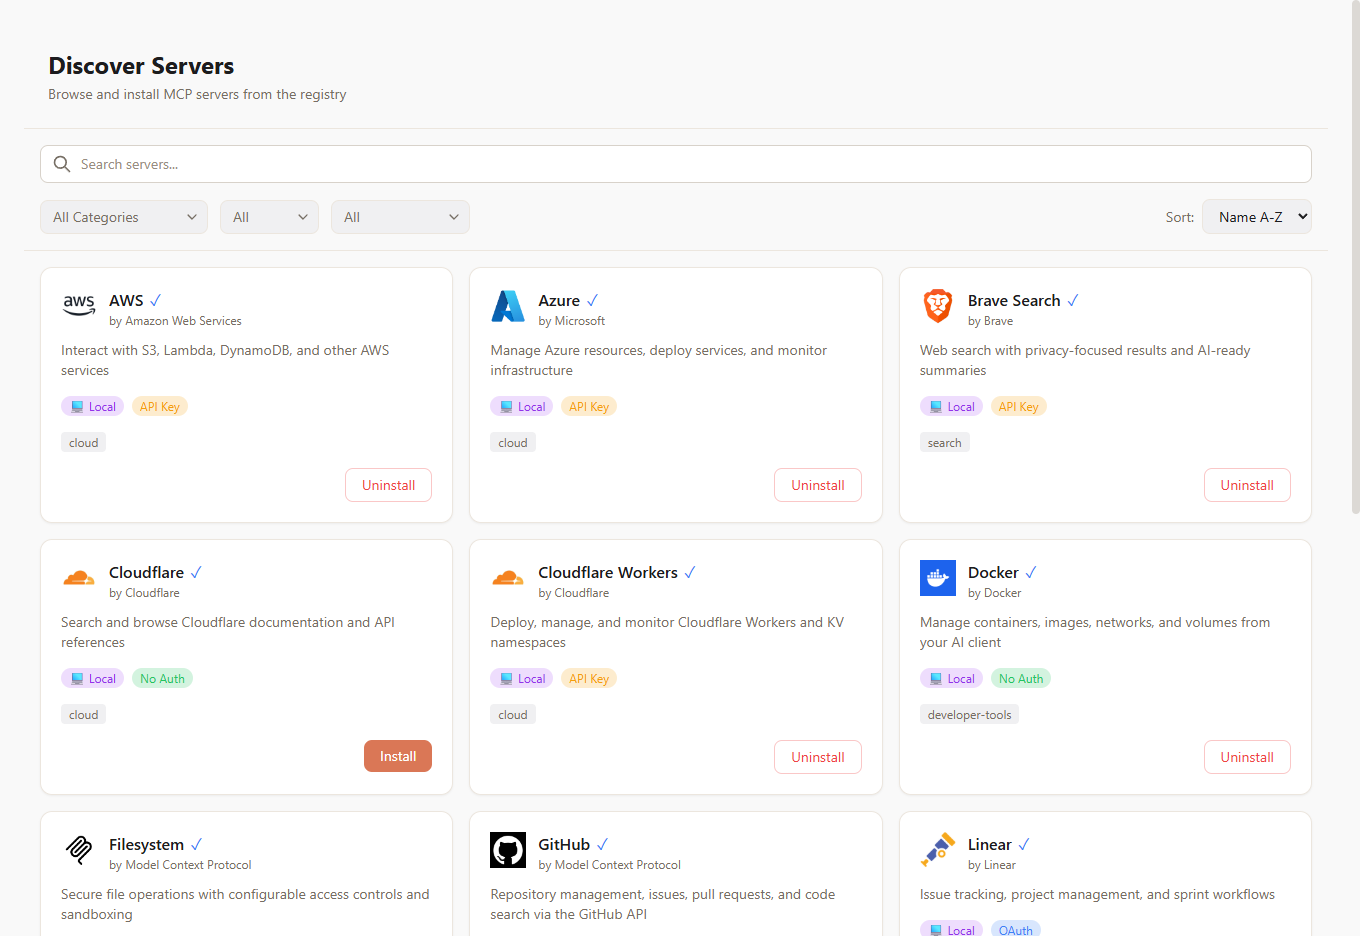
Click Install on any server to add it to your active Space. Popular choices to start with:
- Filesystem — read and write local files
- GitHub — interact with repositories, issues, and PRs
- Brave Search — web search capabilities
- Playwright — browser automation
Step 4: Configure Credentials
If the server requires authentication (API keys, tokens, etc.), a configuration dialog appears automatically after installation. Fill in the required fields:
- API keys are stored encrypted using AES-256-GCM — they never touch disk in plaintext
- Click the obtain link (if provided) to go directly to the service's token creation page
- Sensitive fields are masked in the UI and stored in the OS keychain
See Server Management for details on all configuration options.
Step 5: Start the Gateway
Go to the Dashboard and click Start Gateway. The gateway starts on localhost:45818 and begins connecting to your enabled servers.
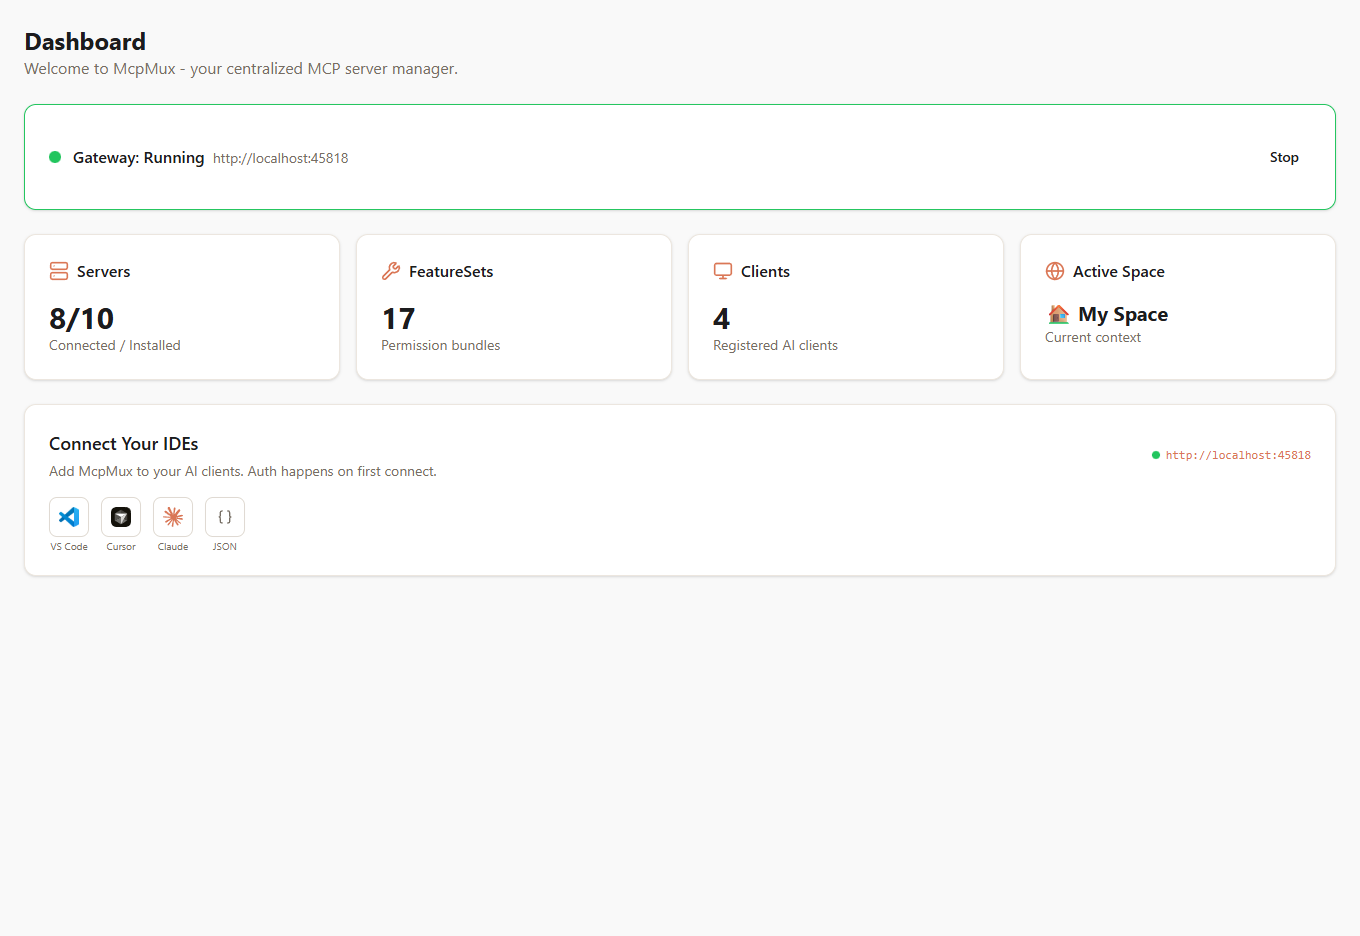
You'll see server status indicators change:
- 🟡 Connecting — establishing MCP handshake
- 🟢 Connected — ready to serve requests
- 🔴 Error — check server logs for details
Step 6: Connect Your AI Client
Configure your AI client to connect to McpMux's gateway endpoint. The exact setup depends on your client:
Cursor
Add to your Cursor MCP settings (.cursor/mcp.json):
{
  "mcpServers": {
    "mcpmux": {
      "url": "http://localhost:45818/mcp"
    }
  }
}
Claude Desktop
Add to your Claude Desktop config (claude_desktop_config.json):
{
  "mcpServers": {
    "mcpmux": {
      "url": "http://localhost:45818/mcp"
    }
  }
}
VS Code (Copilot)
Add to your VS Code settings (.vscode/mcp.json):
{
  "servers": {
    "mcpmux": {
      "url": "http://localhost:45818/mcp"
    }
  }
}
Windsurf
Add to your Windsurf MCP configuration:
{
  "mcpServers": {
    "mcpmux": {
      "serverUrl": "http://localhost:45818/mcp"
    }
  }
}
Once connected, your AI client can access all the tools, resources, and prompts from every enabled MCP server — through the single McpMux gateway endpoint.
Next Steps
- Learn about Spaces to organize your environments
- Configure FeatureSets to control tool permissions
- Browse the server registry to find more MCP servers
- Understand security and how McpMux protects your credentials
What is McpMux
Configure MCP servers once, connect every AI client through a single endpoint. McpMux is a free desktop app and local gateway for MCP server management with encrypted credential storage.
Spaces — Isolated Workspaces
Spaces let you organize MCP servers into isolated environments with separate credentials. Keep work, personal, and client projects completely separated in McpMux.